Do you need to verify your business on Facebook? You’re in luck! This article will guide you through the process, especially for WhatsApp Business API users.
Before we proceed to every step of Verify Facebook Business account, you should know Business Manager has been changed to Meta Business Manager which will help you set up FB ads, and Instagram and the first requirement is to get you WhatsApp Business API.
This verification process ensures your Facebook Business Manager account represents a legitimate company. Your business must be legally registered with a valid phone number and address. If you’re here, it’s likely because Facebook requires verification.
The process varies by region and business type, but generally, it involves providing documents and information to confirm the details in your Facebook Business Manager profile.
Steps to Verify Your Facebook Business Manager Account
Getting started with Facebook Business Verification is the initial step to access the WhatsApp Business API. This process will grant you a verified business page and a Facebook Business Manager ID.
To access your Business Manager account, just log in at business.facebook.com using the same login details as your Facebook business page. If you’re already logged in to Facebook, which is linked to your Instagram business page, it will automatically take you to your Business Manager account.
Choose your Business account from the dropdown menu, as shown in the image below.
If you have multiple Meta Business accounts linked to the same account, they will all be listed in the dropdown menu. Select the specific business account for which you want to proceed with the verification process.
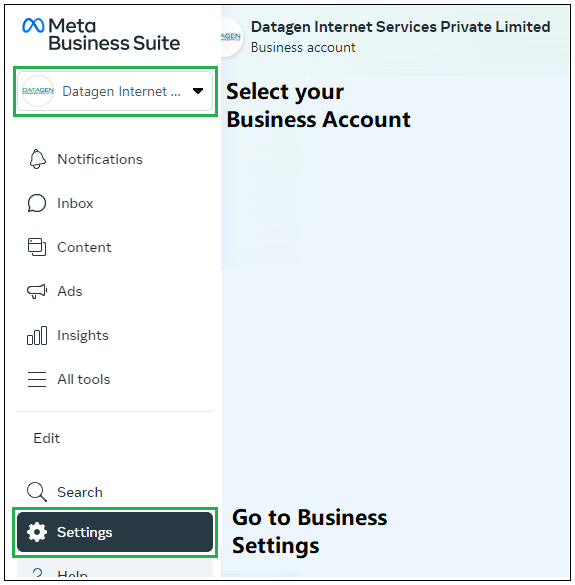
On the Meta Business Suite page, you’ll find the left sidebar. Navigate to Business Settings → Business Info. This will open the business information section, displaying the verification status. Fill in all the relevant business details accurately, matching the information provided in your documents and legal entity business name.
Fill in all the business details in the Business Info accordingly.
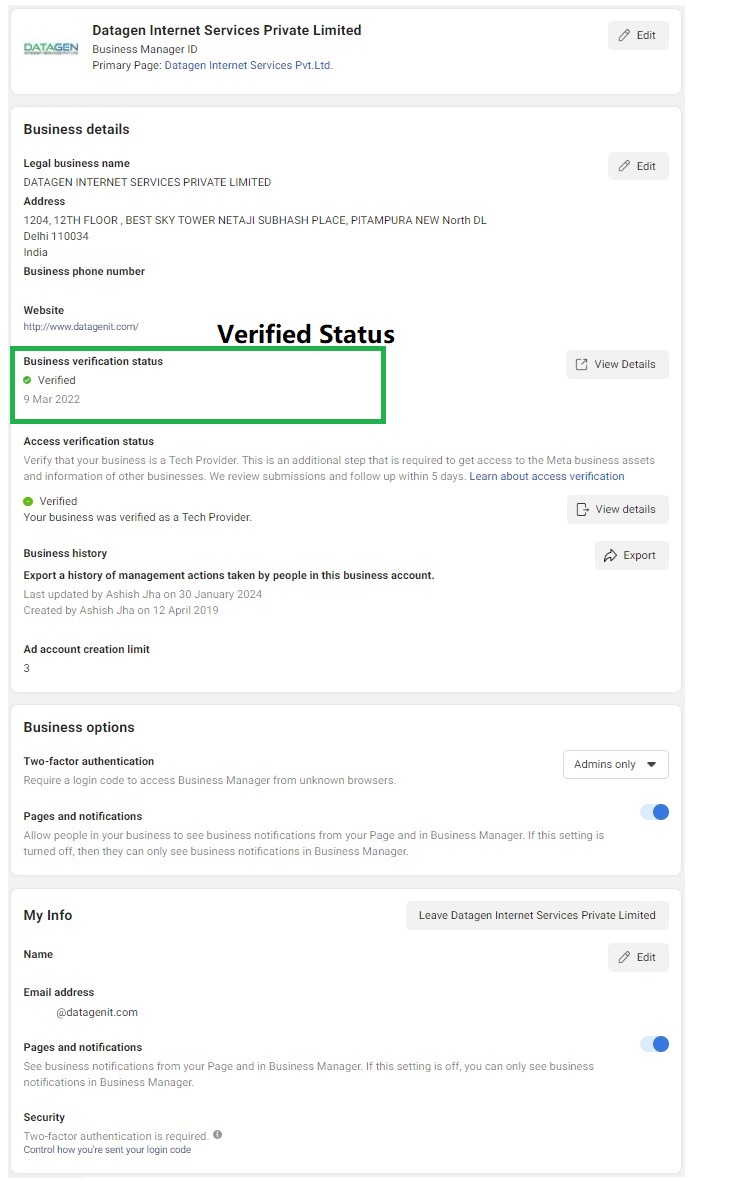
A verified Business Status
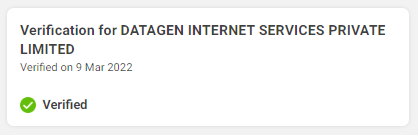
The Verify Facebook Business account will display the verified business status with a green tick badge.
It’s important not to confuse this with the WhatsApp profile green tick. You can learn how to get the WhatsApp verified green tick on your business profile picture.
Note: This is an example of a verified account, if the account is not verified it shows like in the next image.
Go to the Security Center
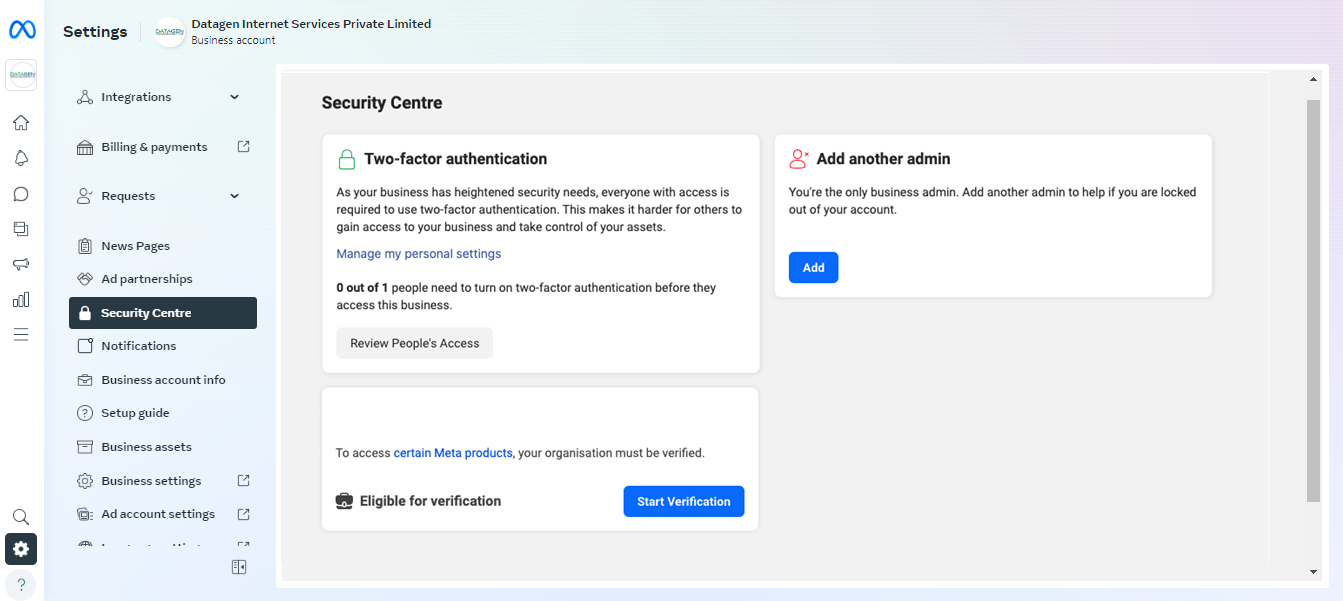
Now, let’s move on to the Security panel. In the sidebar, click on the Security Center. This action will open a new page, as shown in the image below.
Before proceeding with the verification process, set up your Two-factor authentication. Additionally, we recommend adding another admin for security and recovery purposes in the future.
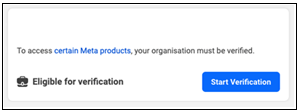
In the Eligible for Verification section, you’ll find a start verification button available.
Note: Sometimes this start verification button doesn't appear. In this case, a separate process for creating a dummy app needs to be followed, discussed in this blog after the Verify Facebook Business steps.
Click ‘Start Verification’ Button
In the Security Center, click on the Start verification button.
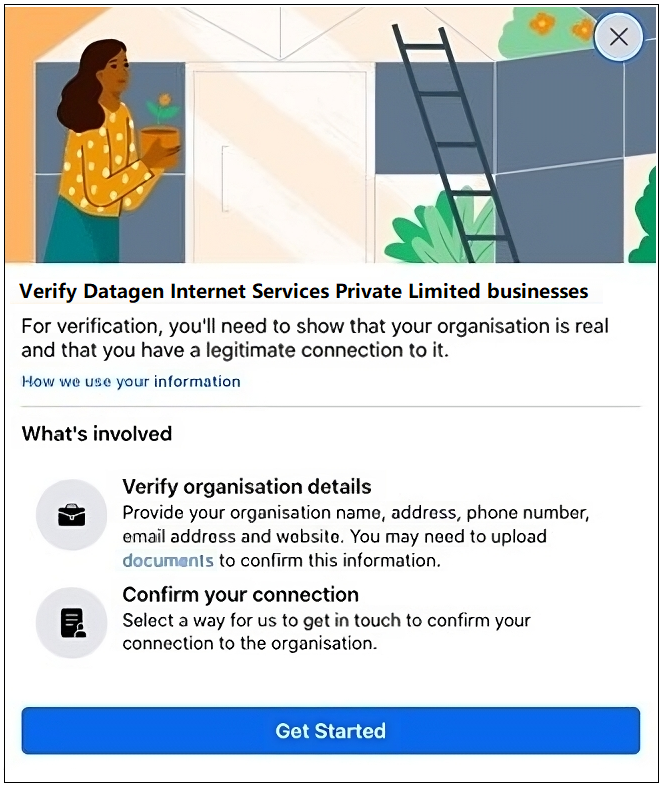
This will lead you to a popup window where you need to click on the Get Started button.
Click Get Started
Proceed further by clicking on the Get Started button.
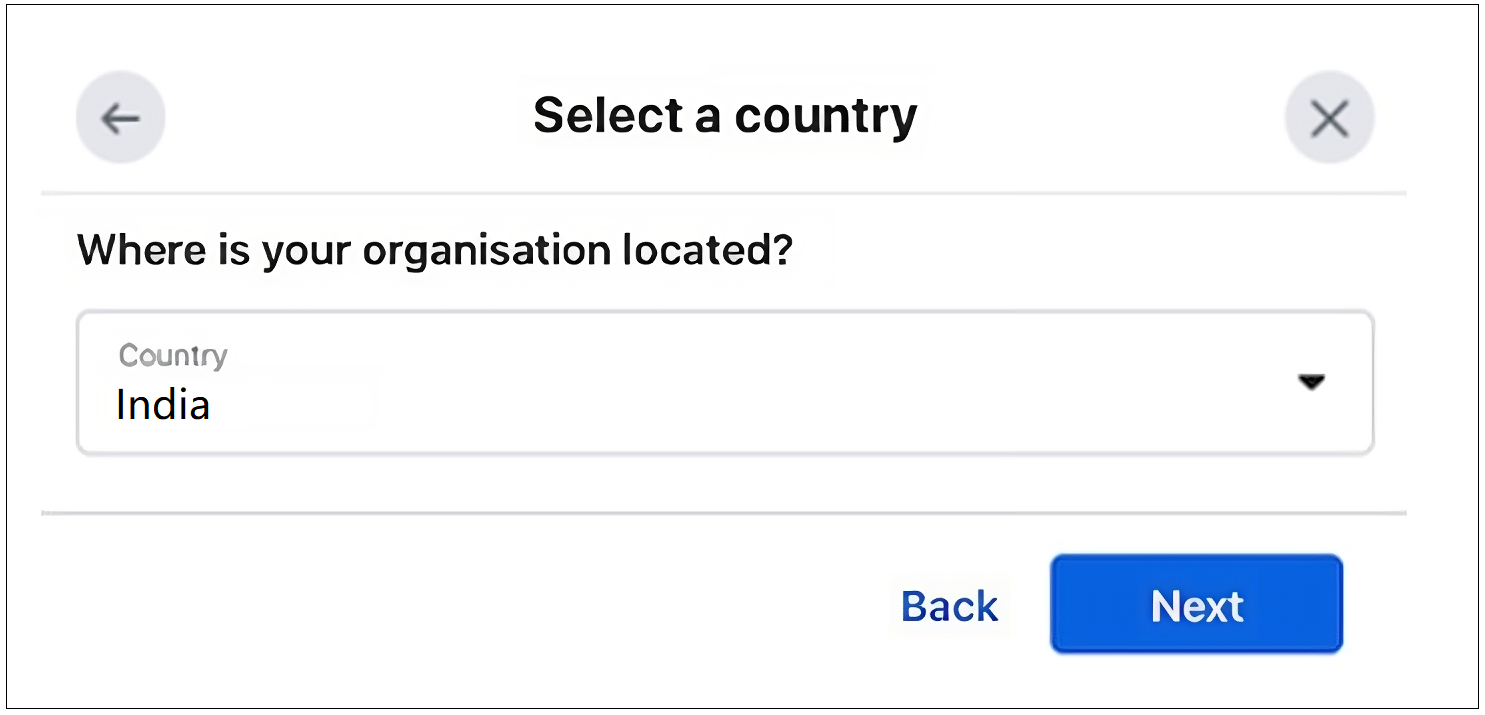
Choose Country
Next, it will take you to Select a country. Choose a business running country.
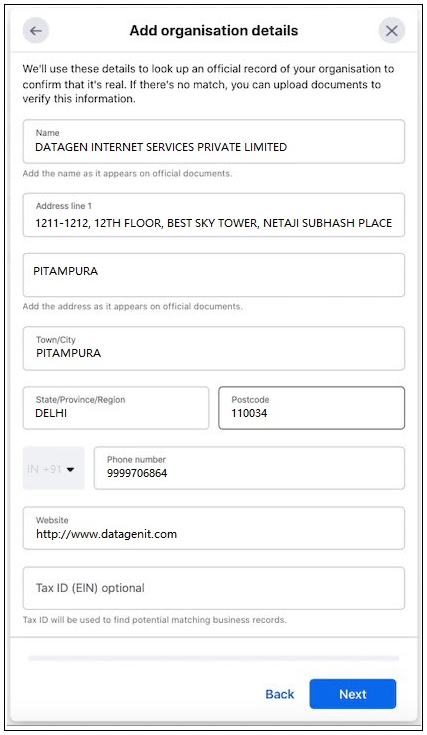
Add Organization Details
The next step will prompt you to enter all business details on the add organization details page. It’s important to be cautious while entering these details, as each word will be verified against your business documents.
Make sure to enter the exact name as stated in your legal documents. Any discrepancy in the name could lead to rejection.
Fill in the address exactly as it appears on the documents and on the business website. Providing a different address or PIN code may result in approval errors.
Include an active business number, which doesn’t necessarily have to be a WhatsApp API number. This number should be active for account verification and to receive communication from Facebook.
Enter a Website URL that is frequently accessed and displays the business’s legal name in the footer or header. This will assist Facebook in verifying the legal business name on your website more easily.
Add supporting Documents for your Business
Next, you’ll need to upload the business documents that clearly show the business name and address.
Here are the valid documents that work best for your business verifications:
Required Business Documents
Name Documents
- Business Registration certificate
- Company Incorporation Certificate
- Tax ID/VAT
Address Documents
- Bank Account Statements (latest to 3 months)
- Utility Bill (Electricity/Phone) for registered business

Choose a Contact Method
Choosing a contact method assists the Facebook team in reaching out to you in case of any unusual situations. Providing an email address with the same domain as the website will be beneficial and streamline communication for both parties. For instance, hello@authkey.io.
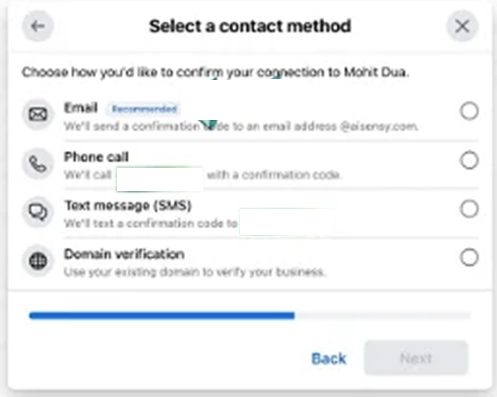
The chosen contact method will receive an OTP for authentication on both email and mobile numbers.
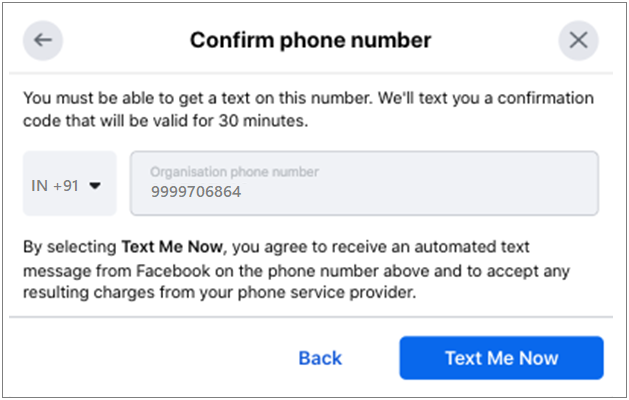
Enter the received OTP in the confirmation code field.
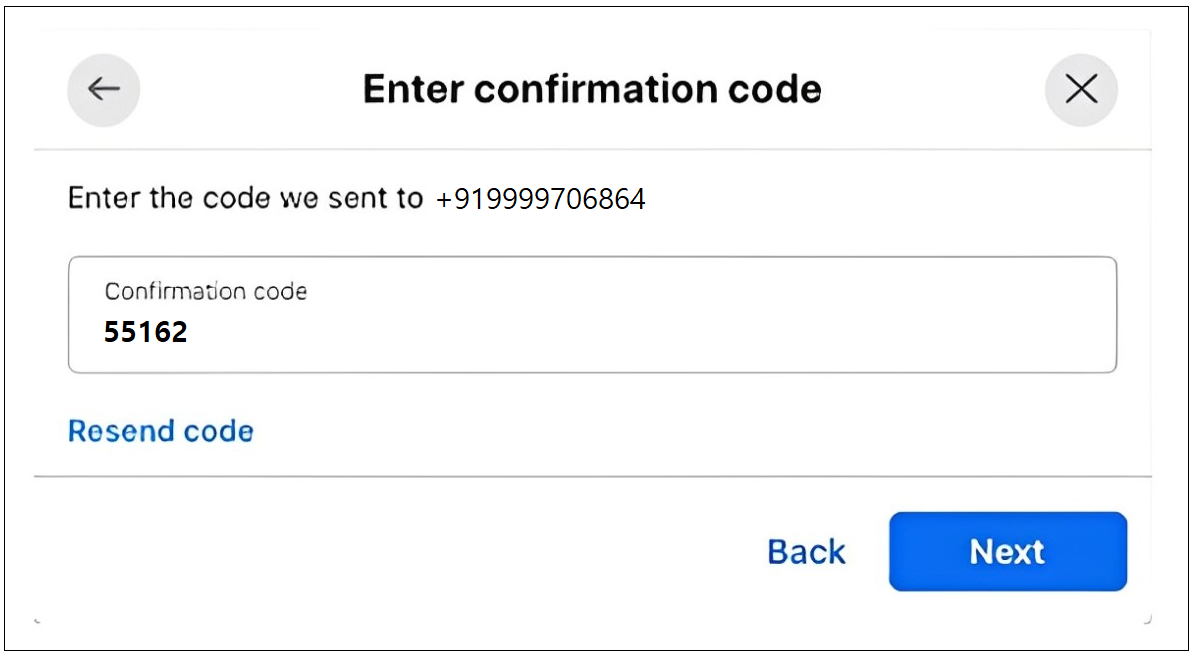
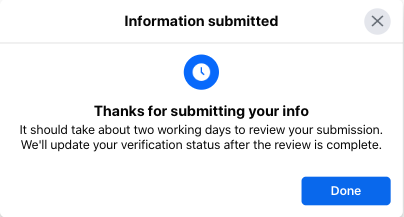
After submitting your information, you’ll receive a “Thanks for submitting” message. This indicates that you’ve successfully applied for verification of your Facebook Business Manager account and will soon receive your verified Facebook Business Manager ID.
Following submission, your application will undergo a review process. This may take anywhere from 10 minutes to a maximum of 14 days for approval. You’ll be notified via the contact information you provided. Once your business is verified, you won’t need to take any further action.
Create a Dummy App to Get the Start Verification Button
Sometimes, the “Eligible for Verification – Start Verification” button may not appear on the information page in the Security Center. Here’s how to get the “Start Verification” button for the process.
Note: This is not a necessary step if your Start Verification button is visible.
To solve this purpose for Eligibility for verification to start the verification process, we need to create a dummy application in the App section.
Connect your Facebook manager account to a Dummy App:
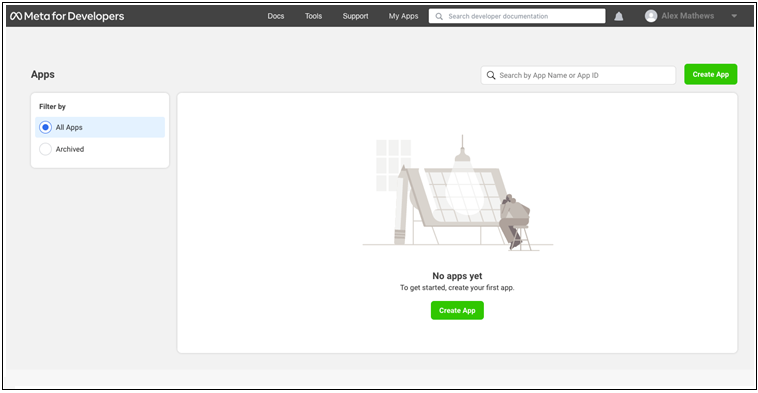
Log in to the Facebook Developer platform using the same Facebook Business Manager account.
Once logged in, navigate to the Apps section. You’ll see the image below. Click on the “Create App” button.
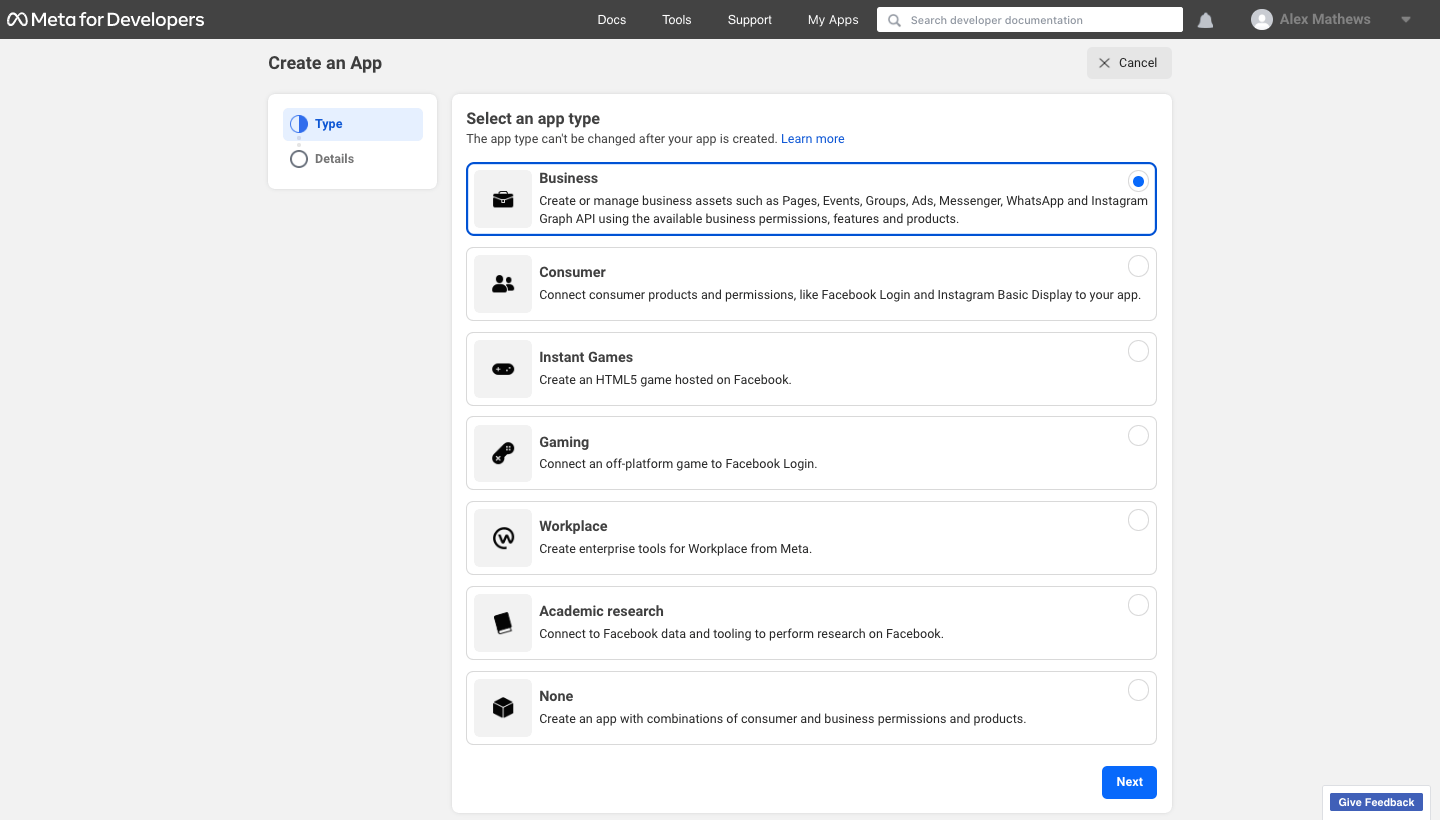
Next, select the type of app you are creating.
Select the Business type or as per your type.
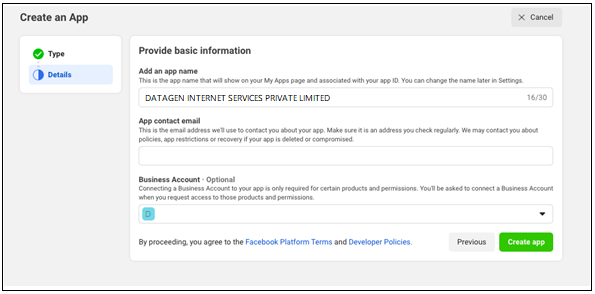
Next, fill in the details for the App.
Provide basic information and give a name to the App. We recommend using the same name as your Business Manager account or business name. You can always change the name later if needed.
Add an email address for contact purposes. Please use a business domain email address.
Then, select the business account you’ve created on Facebook. This step will enable the “Start Verification” button on your FB page.
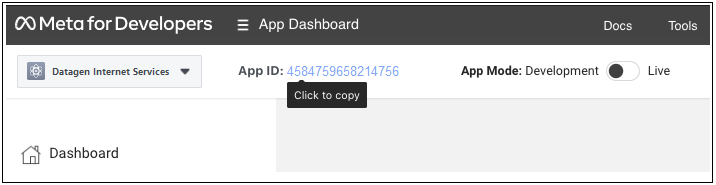
Finally, move to the next step and click on “Create App.”
This will indicate that a dummy app has been created for your business. Copy the App ID from the screenshot below.
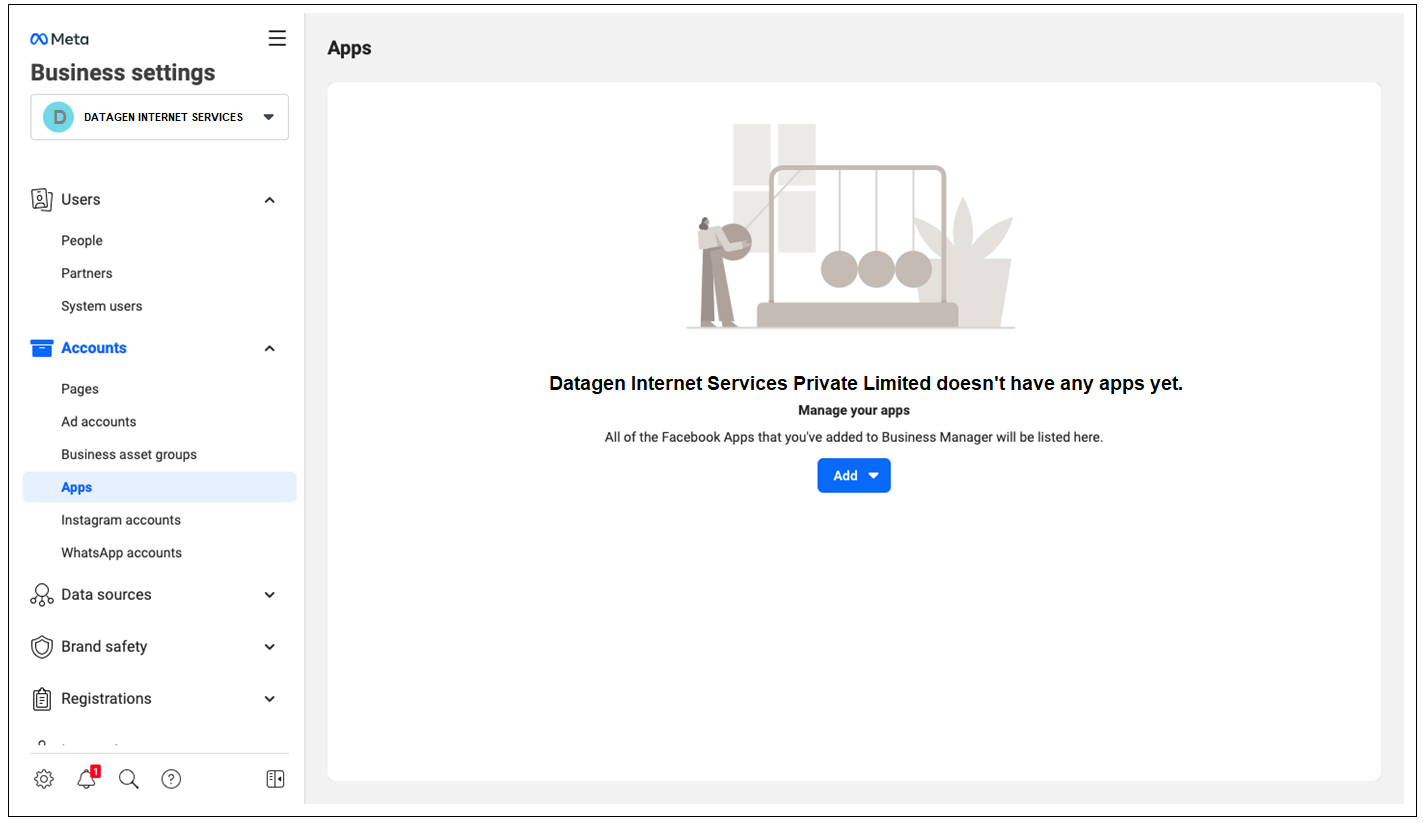
Now, return to the Business Manager settings and click on “Apps” in the left sidebar.
Next, click on the “Add” button, then select “Connect an app ID.”
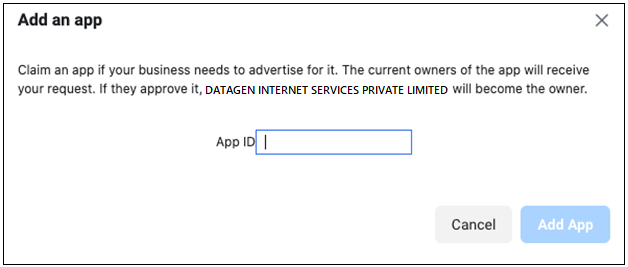
A pop-up will open on the dashboard. Paste the previously copied App ID here. Then, click on “Add App.”
Now, refresh your Business Manager account and check for the “Start Verification” button in your Security Center. It should now be visible.
What will you get with a Verified Facebook Business Account?
A verified Facebook Business account offers access to advanced features that can enhance your business promotion efforts.
- Access to WhatsApp Business API: Many businesses are transitioning to the WhatsApp channel through API integration, which allows for brand-verified green ticks on display logos. A verified Facebook Manager ID is required to apply for the WhatsApp API.
- Detailed Analytics: Gain insights into your page’s performance, including audience demographics, post reach, engagement metrics, and more.
- Facebook Ads Management: Create and manage Facebook ads directly from your business account, with options for targeting, budgeting, and performance tracking.
- Integration with Facebook Messenger: Utilize Facebook Messenger for customer service, communication, and automated messaging through tools like chatbots.
- E-commerce Features: If you’re an e-commerce business, access features like Facebook Shops, allowing you to showcase and sell products directly on Facebook and Instagram.
- Priority Support: Enjoy priority access to Facebook’s customer support for businesses, including dedicated resources for troubleshooting issues and answering questions.
Start your WhatsApp Business API Journey in 10 minutes
Once you’ve completed the verification process for your Facebook Business Manager account, you can kickstart your WhatsApp Business API journey with Authkey in just minutes.
Begin with our FREE TRIAL for 7 days, including 1000 conversations.
Enjoy free approval and instant onboarding for verified accounts.

The Authkey is available to assist you at every step of the process, providing support whenever you need help. Additionally, you can utilize it to proceed with the verification of your Facebook business account and the setup of the WhatsApp Business API.